Discord Is Stuck On Downloading 1 Update
Users may experience an error of Steam updating itself for an indefinite time. This usually happens after you install an update and restart Steam. Deleting Steam files and installing it again worked for many users, but the error came forward again after some time. We have listed some solutions regarding the matter.

But before moving on with the solutions, make sure your system drive has enough disk space.
Solution 1: Delete the 'Package' folder
Sometimes while Steam is downloading the required update packages, the files get corrupt; causing Steam to hang on the 'Installing update' window. We can try deleting the 'Package' folder and let Steam download it again.
- Exit your Steam client. Head to the task manager and close all Steam related processes.
- Browse to your Steam directory. The default path is
C:\Program Files\Steam
- Here you will find a folder called 'Package'. Copy the folder to another location in case something goes wrong and you might want to place it back.
- Delete the folder from the directory and restart Steam. Now Steam will prompt to download some files. After downloading, it will launch as expected.
Solution 2: Disable/Reenable Your Internet Connection
Another solution that worked for the majority of users was to disable your internet/WiFi and plugging it back on.
- Unplug your internet connection/disable WiFi.
- Launch Steam and wait for the dialogue box to appear.
- Restore the connection and proceed with the login. The steam client should check for updates and later on launch properly.
Solution 3: Launch Steam With Administrative Privileges
Steam sometimes requires administrative privileges to update itself. If it doesn't have these permissions, it gets stuck at a specific point. To make sure that this doesn't happen, you need to grant administrator permission to it.
- Open task manager and end all Steam related processes.
- Browse to your Steam directory. The default path is
C:\Program Files\Steam
- Locate 'Steam.exe'. Right-click on it and choose Properties.
- Choose the compatibility tab and check 'Run this program as an administrator'.
- Launch the Steam client.

Solution 4: Edit "Hosts File" to Change Steam's Content Server
You may be experiencing the problem because of a problem in Steam servers. We can try changing the "hosts file" to check if this is the problem. Remember to use this solution as the last resort.
- Click 'Start' and type 'Notepad' in the dialogue box.
Opening Notepad through the Search function - Right-click on Notepad and chose 'Run as administrator'.
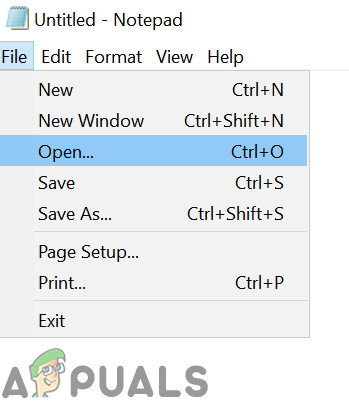
- When your notepad is opened, click the File tab located on the upper left.
- Click 'Open' and browse to the file location
C:\Windows\System32\drivers\etc\hosts.
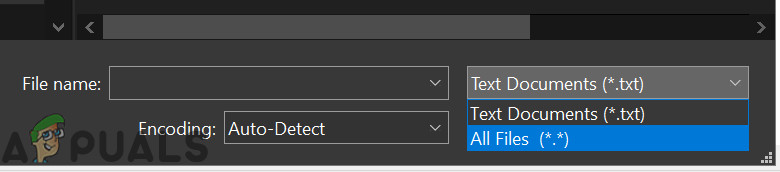
Open File in Notepad - If you aren't seeing the host file, please make sure that you have "All files" selected from the bottom right drop-down box.
Open All Files - Copy the text written below and paste it at the end of the file.
68.142.122.70 cdn.steampowered.com 208.111.128.6 cdn.store.steampowered.com 208.111.128.7 media.steampowered.com
- Save your file and exit the window.
- Click "Start + R" to bring up the Run window. Now we will flush your DNS.
- In the Run box, type
ipconfig /flushdns
and press enter.
If nothing has helped you so far, then try to disable your antivirus and turn off your Firewall or boot system in Safe mode with Networking and then launch Steam.
Hopefully, your Steam will be up and running without any problems.

Kevin is a dynamic and self-motivated information technology professional, with a Thorough knowledge of all facets pertaining to network infrastructure design, implementation and administration. Superior record of delivering simultaneous large-scale mission critical projects on time and under budget.
Source: https://appuals.com/fix-steam-update-stuck/
Posted by: augustusmanzae0193089.blogspot.com

Fundedfirm has rapidly established itself as the Best prop firm in Pakistan by providing local traders with unprecedented access to institutional capital without personal financial risk. With account sizes scaling up to $200,000, the platform empowers talented individuals to showcase their market expertise using professional MT5 technology. Traders in Pakistan benefit from localized support, 24-hour payouts via USDT, and a performance-driven scaling plan that offers profit splits reaching up to 100%. By offering flexible rules for news trading and high leverage, Fundedfirm remains the premier choice for serious investors looking to maximize their earning potential in the global market.
ReplyDeleteBest prop firm in Pakistan